Priority Matrix lets you create new items by sending an email to a special address. You can create items in your own Priority Matrix inbox, or directly into a specific project. Apple Mail has a “rules” mechanism to enable selective filtering. We can use this to only send specific, relevant emails to your Priority Matrix account. No need to send funny cat pictures to your task list!
How to set up Apple Mail rules
- First, we need to copy your secret inbox address, in one of these ways:
- You can get your general inbox address via your special links page, toward the top
- You can get an address for a specific project in the same page, but further down (make sure to select a Q1-4 quadrant first)
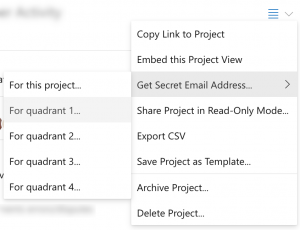
- You can select one of your projects in our web app, then use the hamburger menu to get the address you need

- In Priority Matrix for Mac, open your Inbox and see the Configure tool on the upper right side

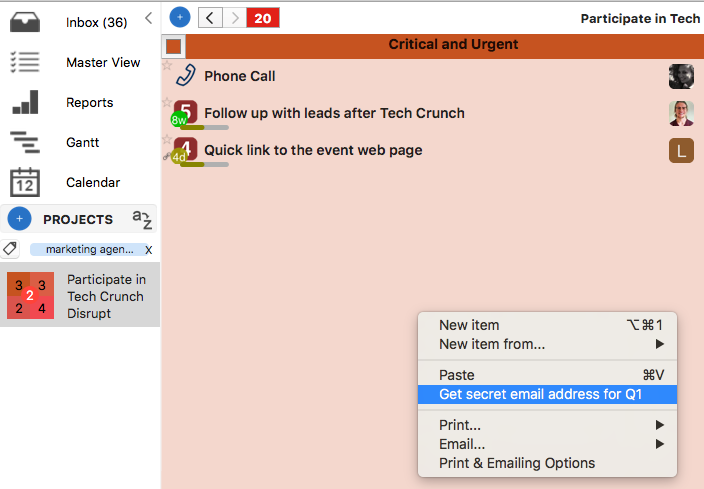
- Also on Mac, get the secret address for a project by right-clicking on a quadrant, and selecting “Get secret email address for…”.

- Click on the Rules tab, on the far right of the pop-up, then on “Add Rules.”
- Give this rule a familiar, self-explanatory name
- Go to the “Any recipient” dropdown and select the filter you want. You can add multiple filters in the same rule by clicking the +. For example, you may choose to forward all emails that come from domain @company.com because they are from a special client.
- Go to the “Move Message” dropdown and select the action “Forward Message.” Paste your secret address here.
- Hit OK, and the rule is set!
If all goes well, the next time you receive an email from a matching sender, it will be auto-forwarded to the specific Priority Matrix location that you chose, whether it’s your inbox or a project+quadrant. Now, repeat this process for each type of message that you’d like to process, and see how your workflow gets smarter with each step.
