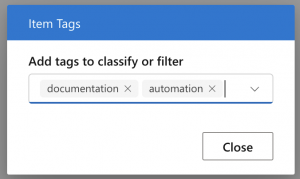
Tags are powerful tools for organizing and filtering your tasks in Priority Matrix. You can add multiple tags to any item and then use them to quickly find related tasks across different projects and views.
Adding Tags to Items
- Click/tap an item to open its details
- Look for the tags section or the [+] button
- Type your tag:
- Existing tags will appear as suggestions
- Press Enter/Return to create a new tag
- Click the ‘x’ on a tag to remove it

Filtering by Tags
Using Tag Filters
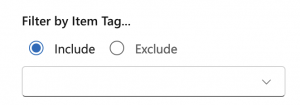
- Open the Filters panel
- Look for “Tags” in the filtering options
- Choose your filtering logic:
- ANY: Shows items with any of the selected tags
- ALL: Shows items that have all selected tags
- Select one or more tags to filter
- Clear filters when done to see all items again

Pro Tips:
- Use consistent tag naming to make filtering more effective
- Combine tag filters with other filters for precise item finding
- Create tag conventions with your team for better organization
- Consider using tags for:
- Project phases
- Departments
- Locations
- Client names
Note: For information about tagging entire projects, see our article on Project Tags.
