In Priority Matrix, adding tasks to your projects is a fundamental skill that helps you organize your work effectively. This guide walks you through the simple process of adding new tasks to any project in Priority Matrix.
Adding a New Task
Adding tasks to your projects in Priority Matrix is straightforward. Here’s how to do it:
- Open the project where you want to add a task.
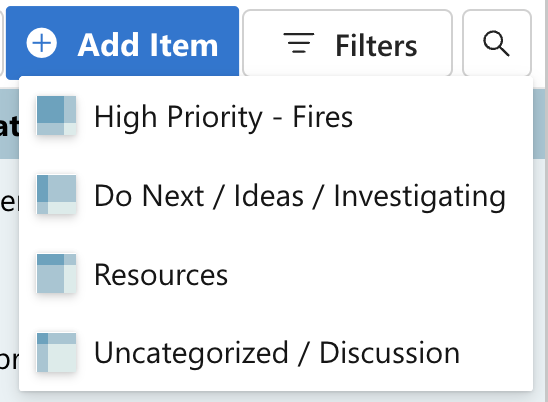
- Click the “+” button in the quadrant where you want the task to appear, or the “+ Add Item” button on top of the project view.
- Type the name of your task and press Enter or click outside the text field to save it.
Refer to the screenshot below for a visual guide.
Alternative Methods
Priority Matrix offers multiple ways to add tasks to your projects:
- Double-click method: Double-click on an empty space in any quadrant to create a new task.
- Right-click method: Right-click in any quadrant and select “New Item” from the context menu.
- Drag and drop: Drag files directly into a quadrant to create tasks with attachments.
- Email to inbox: Send an email to your secret Priority Matrix inbox to create tasks automatically.
Adding Details to Your Task
After creating a task, you can enhance it with additional information:
- Set a due date: Click on the calendar icon to assign a deadline.
- Add notes: Use the notes section to include details or create subtasks.
- Assign to team members: Click the person icon to delegate the task to collaborators.
- Add icons: Apply color-coded icons to visually categorize your tasks.
Moving Tasks Between Quadrants
Need to reprioritize? Simply drag and drop any task to move it between quadrants. This allows you to adjust your priorities as your project evolves.
Conclusion
Adding tasks to your projects in Priority Matrix is quick and intuitive. Start by creating simple task entries and build upon them with details as needed. This approach keeps your projects organized and ensures nothing falls through the cracks.