Priority Matrix offers powerful features to help you highlight and organize your most important items. This guide covers everything you need to know about starring items/tasks and projects, as well as project pinning. These features help you maintain focus on what matters most while collaborating with your team.
Understanding Stars and Pins
Before diving into how to use these features, it’s important to understand their distinct purposes:
- Stars:
- Visible to all users with access to the item/project
- Useful for team-wide prioritization
- Can be applied to both individual items/tasks and entire projects
- Starred items appear at the top of lists by default
- Pins:
- Private to each user – other team members won’t see your pins
- Currently only available for projects
- Ideal for personal organization without affecting team views
- Helps maintain quick access to your most-used projects
How to Star Items and Tasks
There are two ways to star an item or task:
Method 1: Using the Item Details Panel
- Select the task you want to star
- In the “Item Details” tab, locate the hollow star icon in the top left corner
- Click the star icon – it will fill with yellow when activated
- The task will be automatically tagged as “starred” with a green bubble indicator
Method 2: Using Right-Click
- Right-click on any item or task
- From the context menu, select “Star Item”
- To unstar, right-click again and select “Unstar Item”
Working with Starred Projects
Projects can be starred in similar ways:
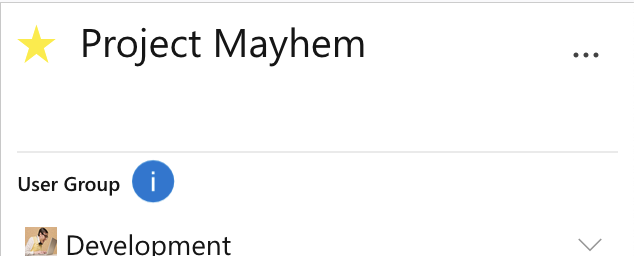
Method 1: Using the Project Header
- Navigate to the project you want to star
- Look for the star icon in the project header
- Click to toggle starring
Method 2: Using Right-Click in Project List
- In the project list, right-click on the project name
- Select “Star Project” from the context menu
- The project will be marked with a star icon in the project list
Project Pinning
Pinning helps you organize projects according to your personal workflow:
How to Pin Projects
- Using Right-Click:
- Right-click on any project in the project list
- Select “Pin Project” from the context menu
- The project will move to the top of your project list
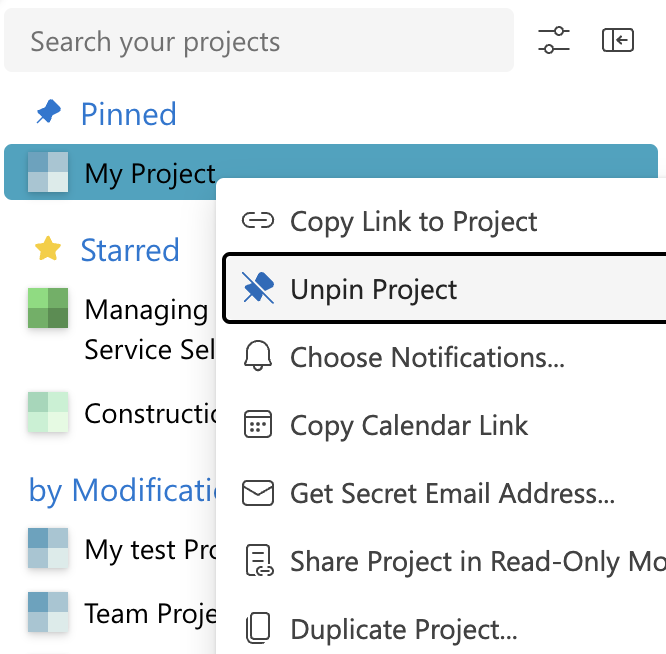
- Using Project Menu:
- Click the three-dot menu (⋮) next to the project name
- Select “Pin Project” from the dropdown menu
Finding Starred Items
Within a Specific Project
- Select your project from the left sidebar
- Click the “Filters” button near the top
- Select “starred” from the dropdown menu
Across All Projects
- Go to the Search View
- Click the “Filters” button
- In the side panel, click the “Starred” button
- Alternatively, find the tag filter and type “starred”
Customizing Starred Items Display
By default, starred items appear at the top of your matrix/list. To customize this:
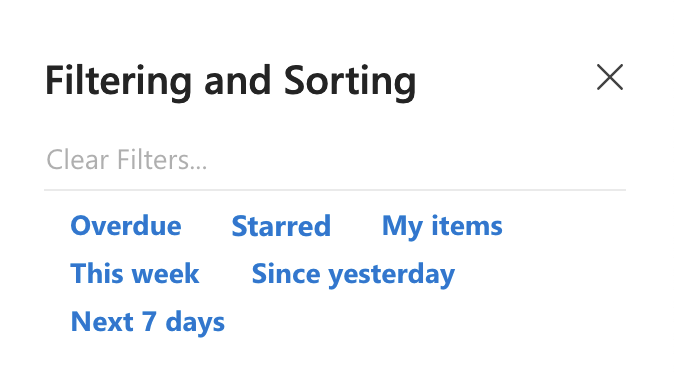
- Click the “Filters” button at the top of the interface
- Look for “Show starred items first” in the Filtering and Sorting panel
- Check/uncheck the box to toggle the behavior
Best Practices
- Use stars for items that are important to the entire team
- Use pins for personal organization of projects
- Regularly review and unstar completed or no-longer-priority items
- Combine starring with other filters for powerful organization